Send
Close Add comments:
(status displays here)
Got it! This site uses cookies. You consent to this by clicking on "Got it!" or by continuing to use this website.nbsp; Note: This appears on each machine/browser from which this site is accessed.
Cygwin: Installation notes
1. Cygwin: Installation notes
2. Installation
Cygwin runs under Windows and provides a lot of Linux comparability. It is more limited than full Linux but can be used for many purposes if a full Linux is not available.
Because of Windows security on drive C:, you may want to install Cygwin on another drive. I always have a D: and more drives, so I installed it on D:.
3. Portable hard drive
Cygwin can be installed on a portable hard drive or flash drive. I do not recommend a cheap flash drive as cheap flash drives tend to be slow.
A 1TB 2-1/2 inch drive and enclosure (get separately and put together) is fast but in the range of $70.
You can get a smaller and thinner M2.SATA SSD drive and enclosure (get separately and put together) this is fast but in the range of $70 (for a 240 GB).
I have found the portable hard drive a better option though not as compact as an M2 SATA SSD drive.
4. Cygwin site
5. Installation
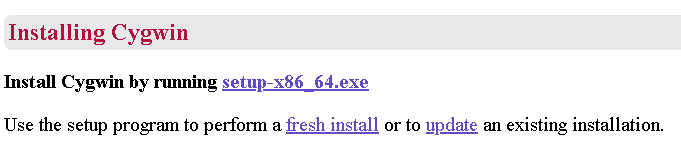
Download and run
setup-x865_64.exe to both do an initial installation or to update an existing installation.
That means you should remember where you saved the installation/update executable file.
The step in the installation on 2020-03-13 are now presented.
6. Cygwin Setup
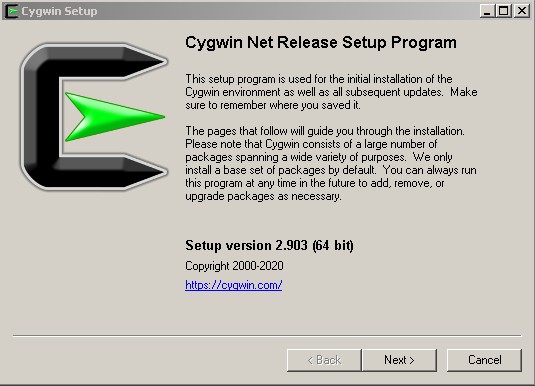
One you double-click or start the installation, you will need to answer several Windows security prompts. The "
Cygwin Setup" window appears.
Click "Next".
7. Choose Installation type
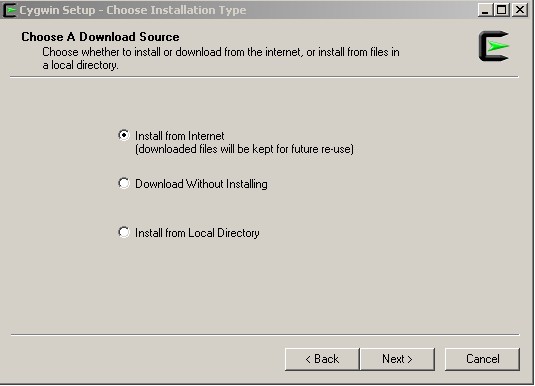
The "
Cygwin Setup - Choose Installation Type" window appears.
Select "Install from Internet".
Select "Next".
8. Choose Installation Directory
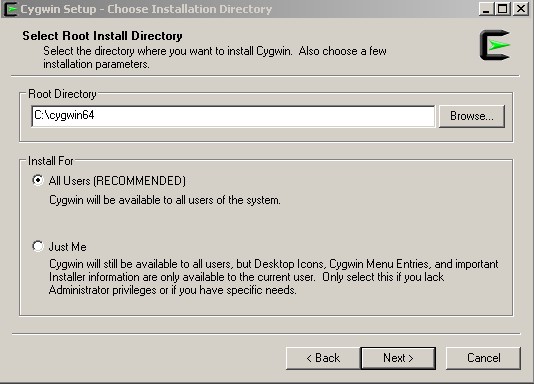
The "
Cygwin Setup - Choose Installation Directory" window appears. The default is
C:\cygwin64. I use
D:\cygwin64 but you should only change this if you know what you are doing.
Under "Install For" use the default of "All Users (RECOMMENDED)".
Select "Next".
9. Select Local Package Directory
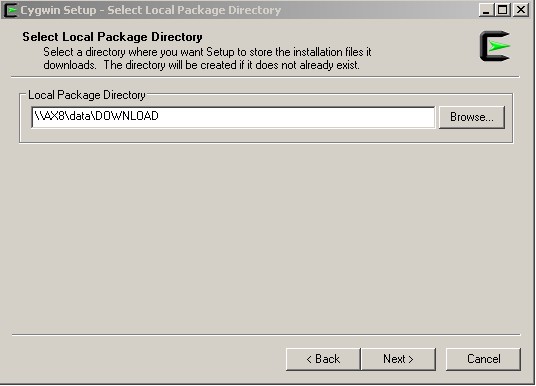
The "
Cygwin Setup - Select Local Package Directory" window appears.
Keep the default setting, unless you know what you are doing. This will be the default download directory. Note: Do not use my custom setting show in the image.
Select "Next".
10. Select Connection Type
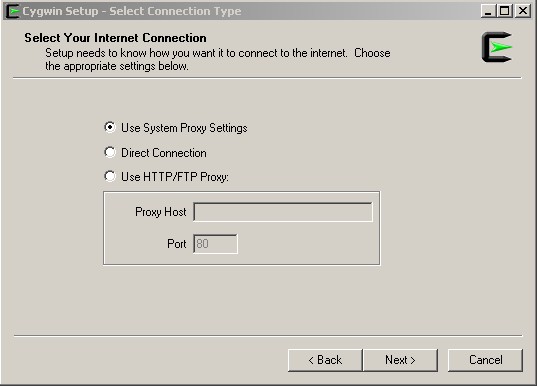
The "
Cygwin Setup - Select Connection Type" window appears.
Keep the default setting of "Use System Proxy Settings", unless you know what you are doing.
Select "Next".
11. Choose Download Site(s)
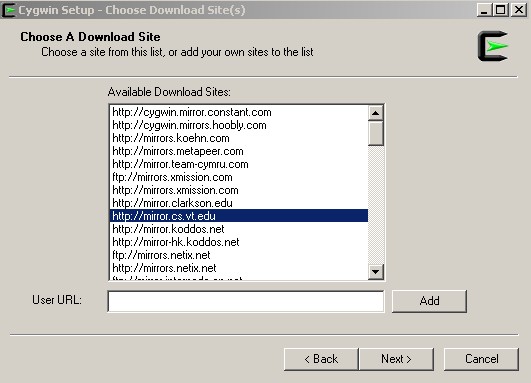
The "
Cygwin Setup - Choose Download Site(s)" window appears.
I usually use http://mirror.cs.vt.edu (Virginia Tech) but any site should work. Some my be slower or faster than others.
Select "Next".
The available package information will be downloaded and displayed.
12. Select Packages
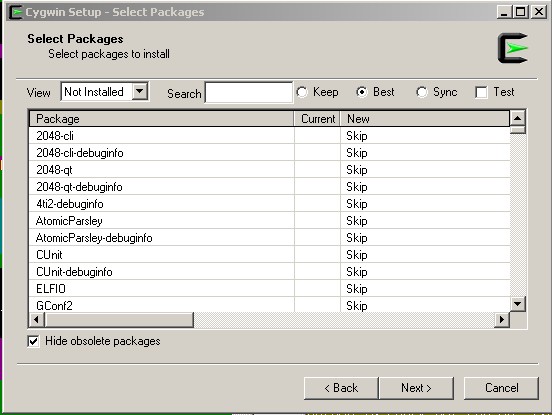
The "
Cygwin Setup - Select Packages" window appears.
Under "View" select "Not Installed". There are a huge number of packages from which to select.
Typing a package name in the "Search" window can narrow down the number of choices.
Note: If you later need more packages, you need to run the install again. Just click "
Next" until you get to this window, then select the desired packages and continue.
13. Packages needed
The following packages are needed to create, modify, run, and submit programs. See the next sections on how to do this.
curl
gcc-g++
make
nano
openssh
perl
unzip
zip
Note: The text editor
nano is recommended so that has one text editor in a Linux environment, even if, say, Notepad++ is your favorite editor in the Windows environment.
14. Select curl
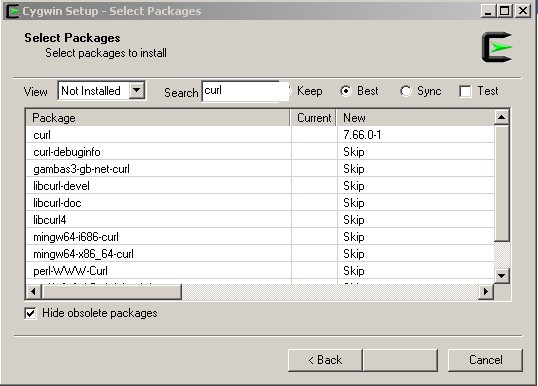
To select, say,
curl, do the following.
In the "Search" edit box, type "curl". A list of choices appears.
Under "Package", on the line for "curl", double-click on line under "New" to select (or pick) the desired version.
Continue until all desired packages have been selected.
When all have been selected, select "Next".
15. Review and confirm changes
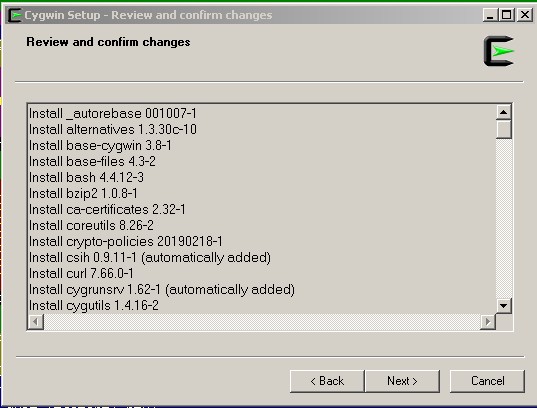
The "
Cygwin Setup - Review and confirm changes" window appears.
A large number of "
Install" packages will appear. There is no easy way to check these, even for me, as the above required packages require many other packages.
Select "Next".
The installation (download and copy) starts. This can take a while to complete (took about 10 minutes for me). The percentage complete is displayed in the title bar of the window as the installation progresses.
16. Installation size
This minimal installation of Cygwin required the following for my system.
886,476,577 bytes in
17,346 files and
3,329 dirs
929,931,264 bytes allocated
17. Installation Status and Create Icons
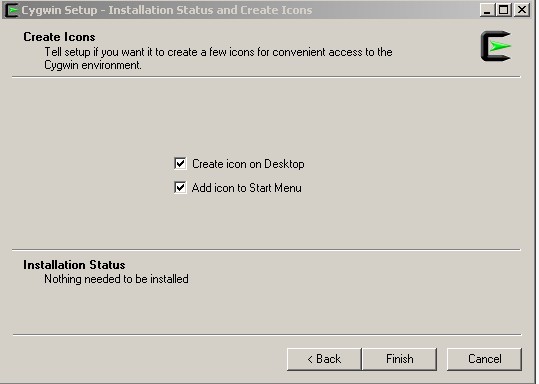
The "
Cygwin Setup - Installation Status and Create Icons" window appears.
Keep the check for "Create icon on Desktop".
Keep the check for "Add icon to Start Menu".
Select "Finish".
18. Start Cygwin
Now start Cygwin, either from the "
Desktop" or the "
Start Menu". It is suggested that you right click on the taskbar and lock/pin to taskbar to make it easier to start in the future.
The Cygwin command window appears. Here is where you type commands.
Note that certain starter files are copied. The
.bashrc file will need modified for the RIDES system for classroom use.
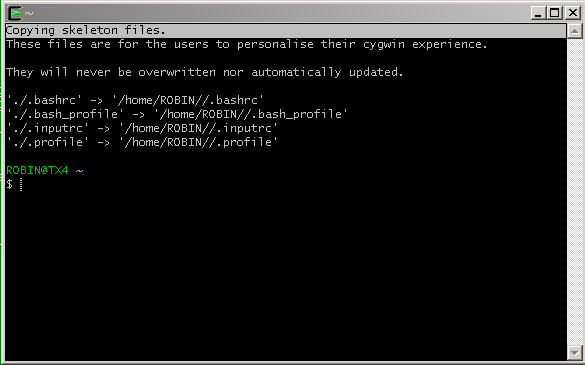
19. Terminal session
The greeting terminal session window contains the following.
Copying skeleton files.
These files are for the users to personalise their cygwin experience.
They will never be overwritten nor automatically updated.
'./.bashrc' -> '/home/ROBIN//.bashrc'
'./.bash_profile' -> '/home/ROBIN//.bash_profile'
'./.inputrc' -> '/home/ROBIN//.inputrc'
'./.profile' -> '/home/ROBIN//.profile'
ROBIN@TX4 ~
In this case, the following hold.
ROBIN is the user of the machine.
TX4 is the name (host name) of the machine.
The files listed can be modified to customize the Cygwin session.
/home/ROBIN//.bashrc
/home/ROBIN//.bash_profile
/home/ROBIN//.inputrc
/home/ROBIN//.profile
Note the double forward slashes and the dot (period) at the beginning of these (special) file names.
20. Commands
At the command line, type the following commands to insure that the required packages were installed.
If packages
x is missing, the error will say something to the effect as follows.
-bash: x: command not found
If any commands are not found, go back and install them (using the above methods).
21. Nano
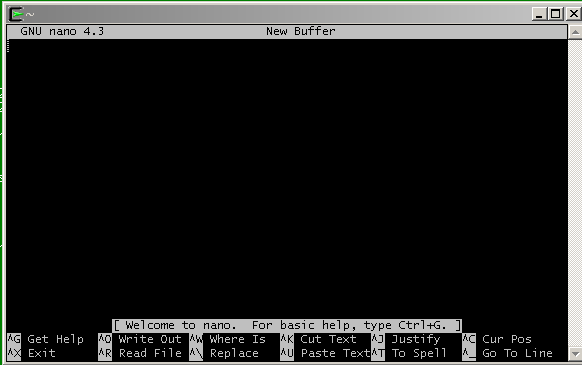
Type
nano and press
Enter. The
nano text editor screen should appear. Press
Ctrl-X to exit.
22. gcc
Type
gcc and press
Enter.
You should get the following.
gcc: fatal error: no input files
compilation terminated.
This means that
gcc was installed (but there was no C code file to process).
23. perl
Type perl and press Enter. You should see nothing as perl is waiting for you to type a perl command. Press Ctrl-C.
24. make
Type
make and press
Enter. You should see the following.
make: *** No targets specified and no makefile found. Stop.
25. zip
Type zip and press Enter. You should see the zip options.
Type unzip and press Enter. You should see the zip options.
26. End of page